配置环境
1
2
3
4
5
6
7
8
9
10
11
12
13
| # Create a new directory for our project
uv init weather
cd weather
# Create virtual environment and activate it
uv venv
source .venv/bin/activate
# Install dependencies
uv add "mcp[cli]" httpx
# Create our server file
touch weather.py
|
mcp studio样例
1
2
3
4
5
6
7
8
9
10
11
12
13
14
15
16
| from mcp.server.fastmcp import FastMCP
mcp = FastMCP("Math")
@mcp.tool()
def add(a: int, b: int) -> int:
"""Add two numbers"""
return a + b
@mcp.tool()
def multiply(a: int, b: int) -> int:
"""Multiply two numbers"""
return a * b
if __name__ == "__main__":
mcp.run(transport="stdio")
|
mcp streamable-http 样例
1
2
3
4
5
6
7
8
9
10
11
| from mcp.server.fastmcp import FastMCP
mcp = FastMCP("Weather")
@mcp.tool()
async def get_weather(location: str) -> str:
"""Get weather for location."""
return "It's always sunny in New York"
if __name__ == "__main__":
mcp.run(transport="streamable-http")
|
使用
mcp市场MCP 广场 ·
魔搭社区
使用 uv(推荐)
当使用 uv
时不需要特定的安装步骤。我们将使用 uvx
直接运行 mcp-server-fetch。
1
2
3
4
5
6
| "mcpServers": {
"fetch": {
"command": "uvx",
"args": ["mcp-server-fetch"]
}
}
|
使用 PIP
或者,您可以通过 pip 安装 mcp-server-fetch:
1
| pip install mcp-server-fetch
|
1
2
3
4
5
6
| "mcpServers": {
"fetch": {
"command": "python",
"args": ["-m", "mcp_server_fetch"]
}
}
|
远程托管
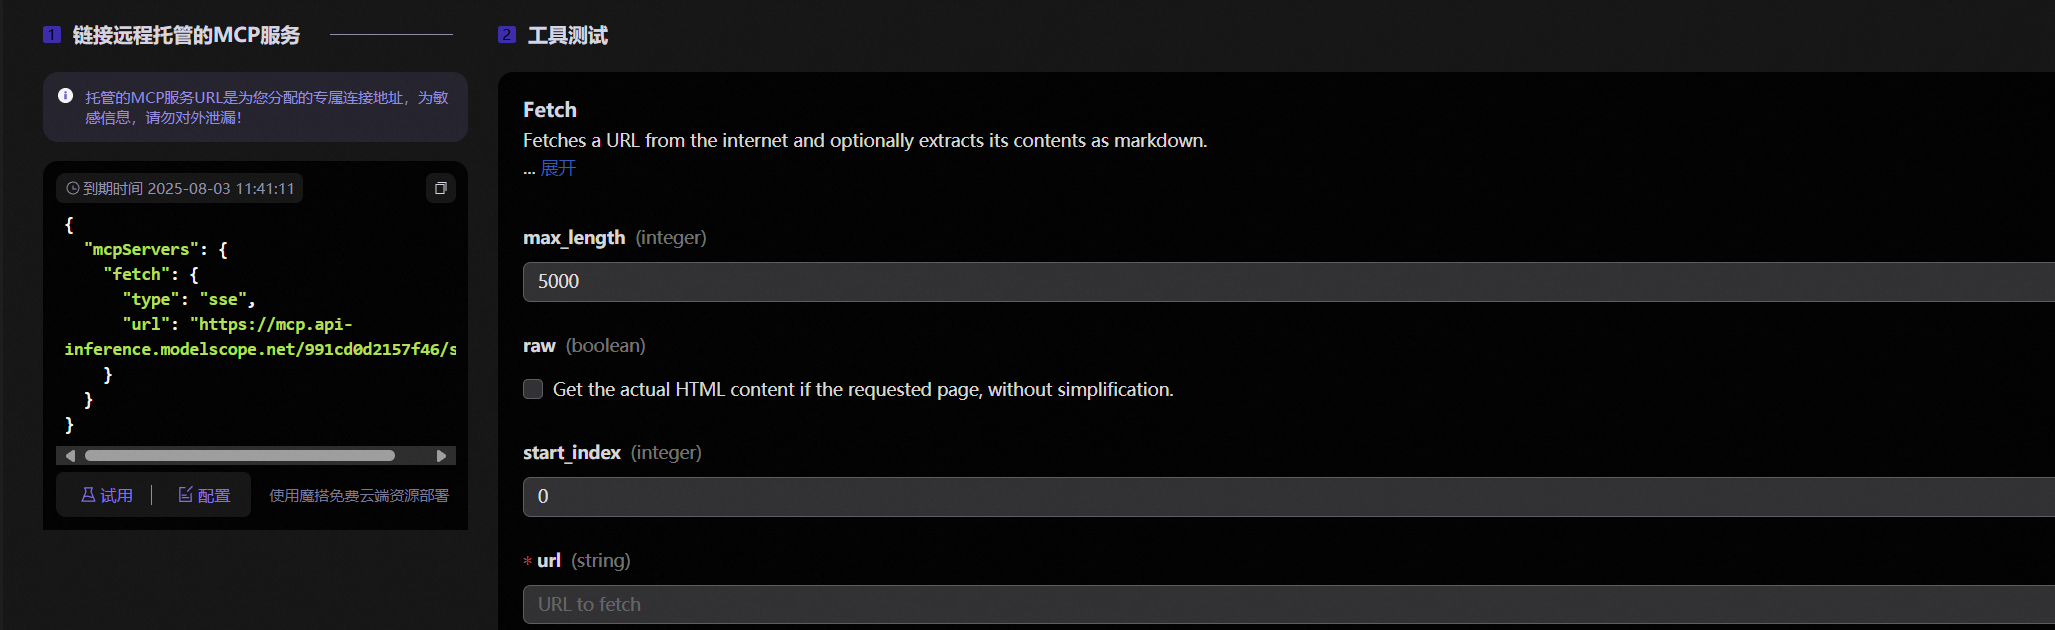 image-20250802120145192
1
2
3
4
5
6
7
8
| {
"mcpServers": {
"fetch": {
"type": "sse",
"url": "https://mcp.api-inference.modelscope.net/991cf46/sse"
}
}
}
|
参考资料
构建
MCP 服务器 - 模型上下文协议 — Build an MCP Server - Model Context
Protocol